
Ant farms are not only captivating to watch, but they also serve as a fascinating educational tool.
Watching these industrious insects as they build intricate tunnel networks offers insight into their structures and social behaviors.
The term “farm” in “ant farm” symbolizes:
Cultivation and Observation: Just as farmers cultivate the land to observe and manage crop growth, an ant farm allows people to observe and manage the activities of ants.
You can create a thriving ant farm that not only provides hours of educational entertainment but also deepens your appreciation for these remarkable creatures. Enjoy the journey of discovering the intricate world of ants!
And if you decide to release the ants, do so in the area where they were collected to ensure they can reintegrate into their natural environment.
How do you make an ant farm?
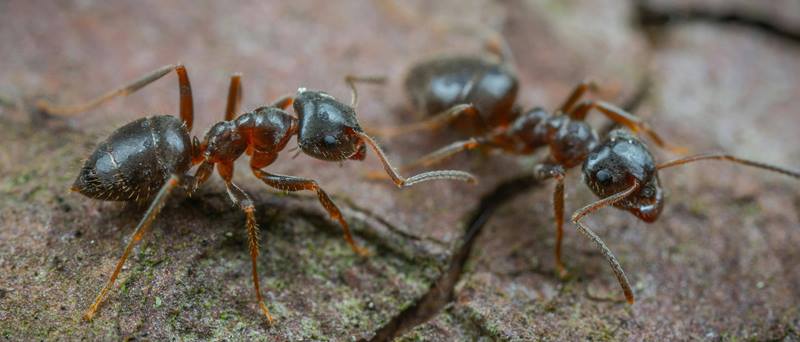
An ant farm is a contained habitat where ants live, and the observer manages their environment.
Farms are often educational, teaching about life cycles, ecosystems, and biology. An ant farm serves a similar purpose by providing educational information about the lives of ants.
Materials you will need:
- Ant farm kit or containers: A pre-made kit is convenient, but you can also use two clear containers (one smaller to fit inside the other) or a single clear container with a lid.
- Ants: Collect them from your garden or purchase a queen ant and her workers online.
- Soil or sand: Opt for soil, sand, or a clean, non-toxic combination. Specialized gel designed for ant farms is also an option.
- Food and water: Ant food, small pieces of fruit, or sugar water.
- Water dripper: Essential for moistening the soil and adding water.
- Ventilation: A fine mesh or small holes that allow air to enter but prevent ants from escaping.
- Tools: A small shovel or spoon, a brush, and a piece of cardboard or paper.
Step-by-Step Instructions
By following these guidelines, you can create a thriving ant farm that not only provides hours of educational entertainment but also deepens your appreciation for these remarkable creatures.
Prepare the Container
- For the double container method, place the smaller container inside the larger one, creating a space for the ants to tunnel.
- Make sure the container is clean, with a lid that has vents small enough to prevent leaks.
Add Soil or Sand
- Fill the space between the containers or the single container with soil or sand, leaving some space at the top.
- Lightly moisten the soil or sand with the dropper, ensuring it is damp but not wet.
Transfer the Ants
- If collecting ants, transfer them carefully using a piece of cardboard or paper. Purchased ants will come with specific instructions.
- Including a queen ant ensures that the colony will thrive; Without a queen, the ants won’t sustain their population.
Secure the lid
Make sure the lid is secure and provides adequate ventilation.
Place the ant farm
Place the farm in a location with indirect sunlight to prevent overheating and drying out of the soil.
Take care of your ant farm
Feed the ants small amounts of food every few days, removing uneaten food to prevent mold and bacteria growth.
Provide water via the dripper every few days, taking care not to flood the habitat. Observe the ants as they build their tunnels, which will give you a glimpse into their complex social world.
Temperature: Keep the nest at a stable room temperature to avoid stressing the ants.
Light: Since ants prefer darkness, cover the nest with a cloth when not in use.
Management: Avoid shaking or disturbing the nest, as this can collapse their tunnels and harm the ants.
Ethical Considerations: Handle the ants and their habitat carefully, respecting their natural behavior.
Different Types of Terrariums